Code from Anywhere: Your SSH Guide to Remote Development in PyCharm
If you landed here, you’re probably already using a remote (GPU) for your ML tasks, and you’re sick of git push from your laptop and the pull on your powerful GPU machine. Ask me why I know that, and you’re probably a PyCharm fan as well 😊.
If so, you landed in the right place.
On the web there are several guide how to do remote dev for VS code, but I haven’t found one that works for PyCharm, so I decided to write this post.
Introduction
Welcome aboard the world of SSH-based remote development with PyCharm!
Imagine editing your DNN locally in PyCharm while harnessing the power of a remote Linux server—be it a GPU instance on Runpod, a cluster on Lambda AI, a bare-metal GPU box at Hetzner, or the new Shadeform.ai marketplace. With a secure SSH tunnel, you get:
- Massive compute on demand
- Consistent, shareable environments
- Code safety—your laptop stays light!
No more fighting environment drift or lugging heavyweight workstations. In this guide, we’ll cover every SSH-specific step from host prerequisites to remote interpreter setup, plus tips on squeezing GPU performance from budget-friendly servers. Let’s supercharge your Python workflow! (runpod.io, lambda.ai, hetzner.com, shadeform.ai)
Prerequisites
Before you start, make sure your remote host meets PyCharm’s requirements:
- CPU & RAM: ≥ 4 vCPUs (x86_64 or arm64), 8 GB RAM. Higher clock speeds beat more cores for this use case.
- Disk: ~10 GB free on local or block storage (avoid NFS/SMB).
- OS: Ubuntu 18.04/20.04/22.04, CentOS, Debian, or RHEL.
- Python & SSH: A running OpenSSH server on your Linux box and the desired Python version (e.g.,
/usr/bin/python3or a virtualenv). - Your public SSH key: must be deployed on the server. If you are running on Runpod, Lambda, Hetzner, it shall be automatically deployed
PyCharm version: this guide applies to PyCharm 2025.1
Open SSH Configurations
- On the bottom-left corner of the IDE click on Current Interpreter ▸ Add New Interpreter ▸ On SSH and click Create SSH configuration.
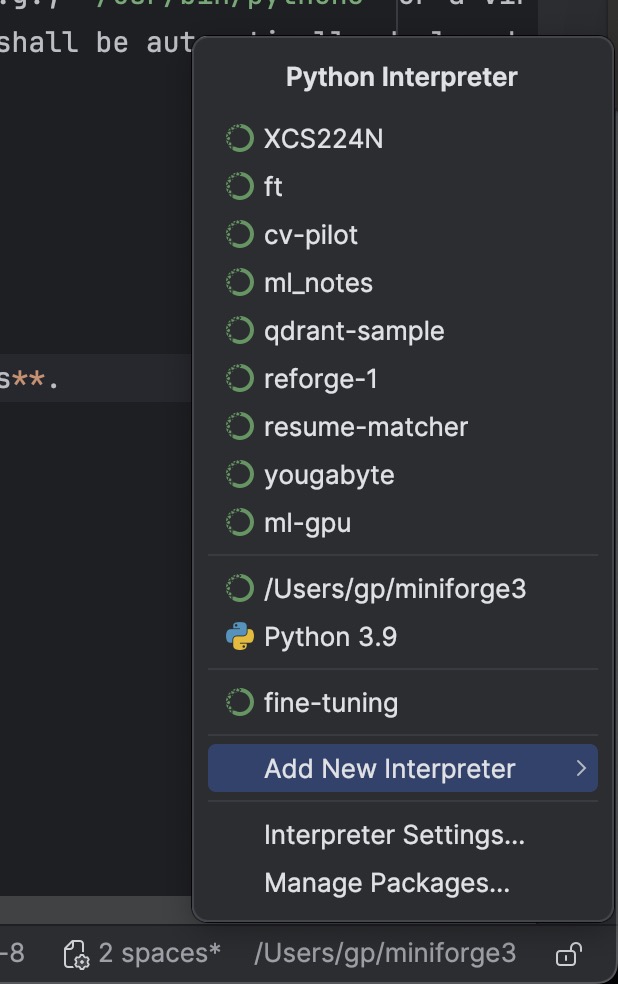 Create SSH configuration
Fill in Connection Details
- Host: your server’s IP or hostname (in case of the Stanford lab, it would be something like lab-18422c, just copy and paste from your connection string the host name after “@”)
- Port: usually
22(or custom, in case of the Stanford lab, it would be 5084 or anything else provided in the connection string you got after -p) - Username: your SSH user ( (in case of the Stanford lab, it would be something like “scpdxcs”, just copy and paste from your connection string the name before “@”)
- click next
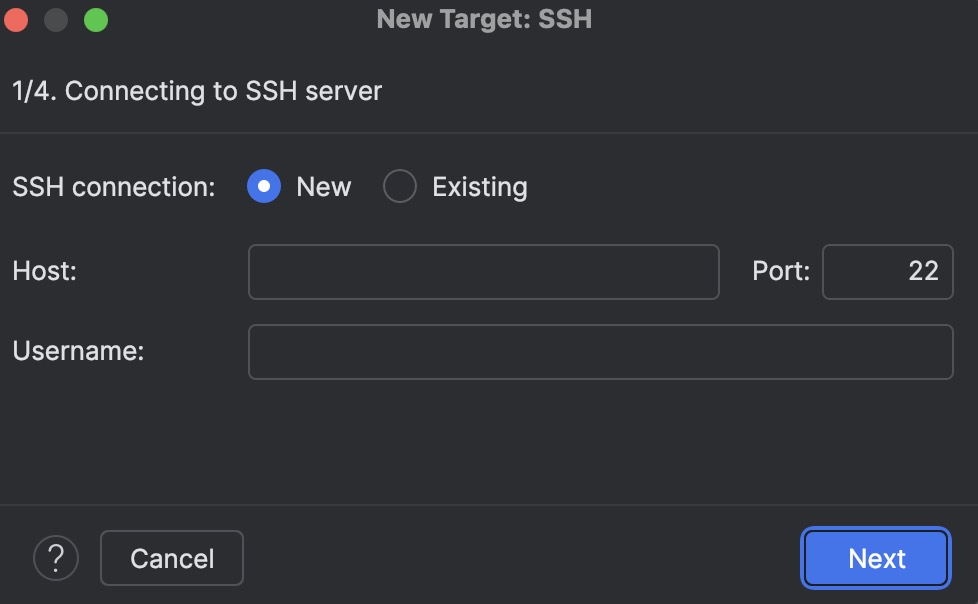 fill in the connection details
Fill in Auth Details
- Select: Key pair and browse for your private SSH key. On a Mac the default location is YOUR_USER/.ssh . It’s a hidden folder - Command + Shift + . (period) to show hidden folders on your pop up, if they are not already shown.
- Fill the passphrase: if your SSH private key weas generated with a passphrase.
- Select Save passphrase
- Click Next.
If you are connecting using password then select “Password” fill in you password and enable the check box “Save password” if you want to be automatically sign in everytime you try to connect again to the remote env.
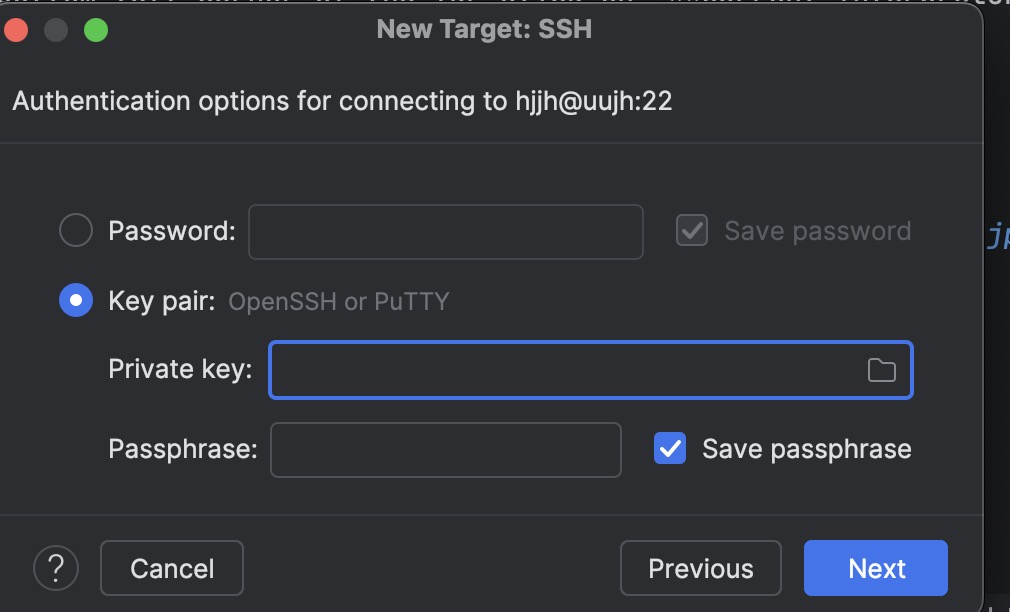 fill in the auth details
Introspecting SSH server
- If you filled all your params correctly you shall see a blank box, just click next
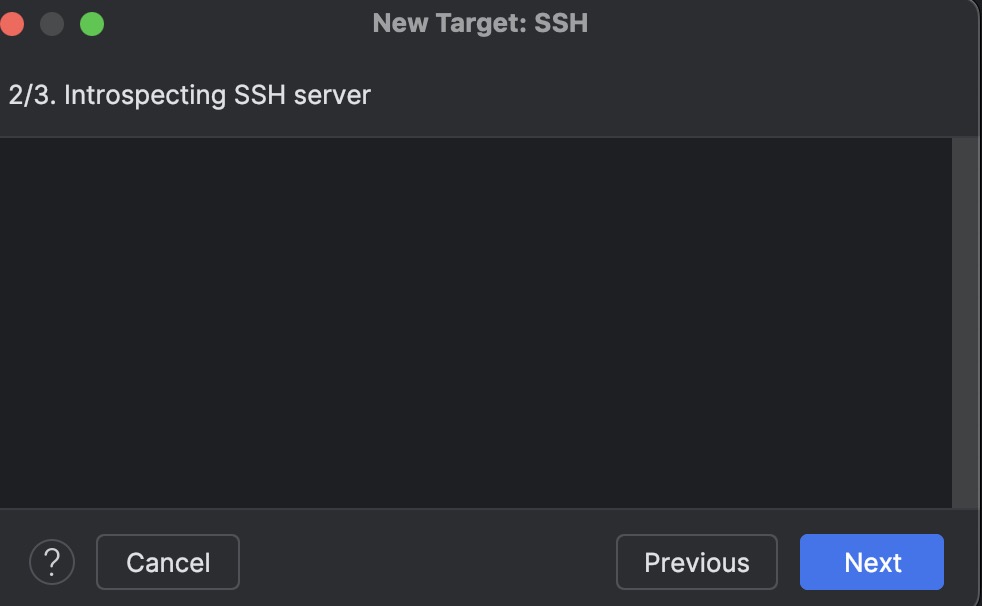 fIntrospecting SSH server
Project directory and Python runtime configuration
If you are setting up a remote connection for the Stanford lab, skip to “Using a remote env”
Using a local env
- Select the same environment you use locally
- I leave all the other params as default
- Click Create
 Project directory and Python runtime configuration - local env —
Using a remote env
- Conda executable: click the folder brose to select “anaconda/condabin/conda”
- Select “Create new environment”
- Environment name: choose your favorite name
- Python version: 3.12
- Sync folder: leave it default
- Check the option “Automatically upload project files”
- Click Create
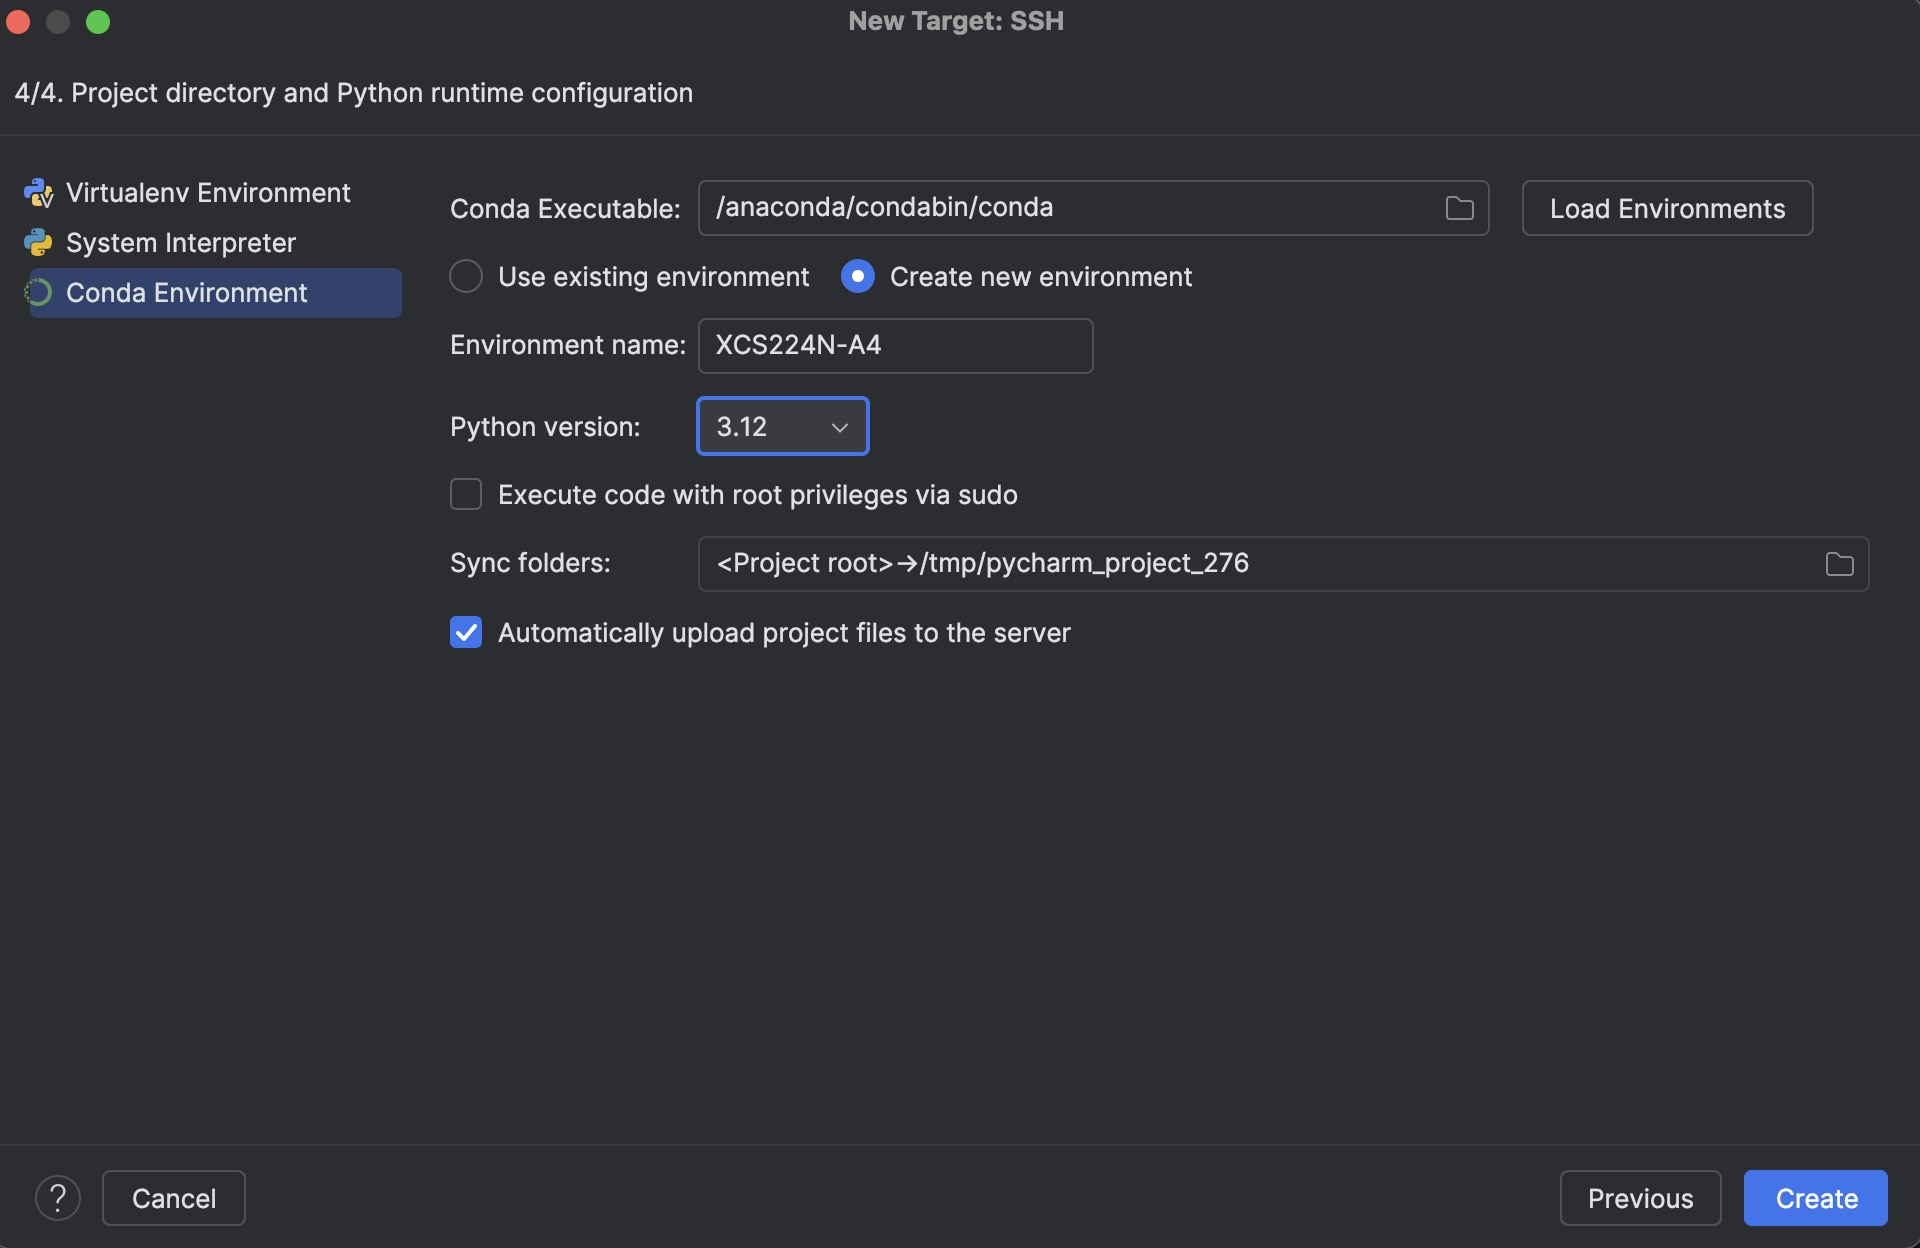 Project directory and Python runtime configuration - remote env —
Connecting to the remote environment
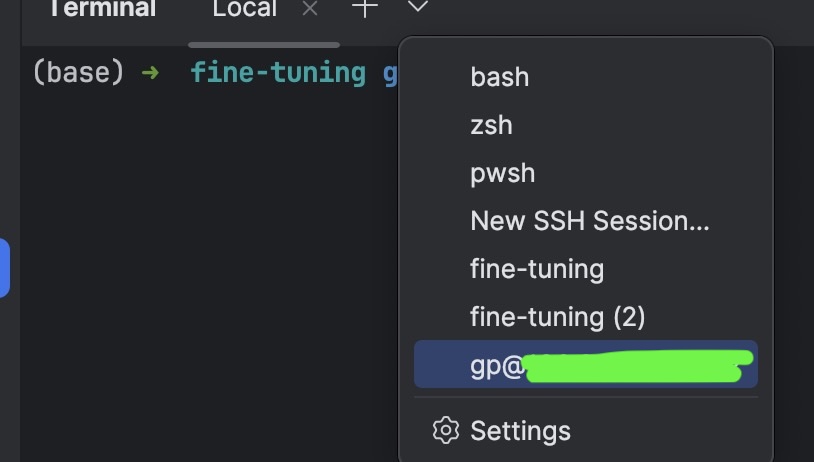
- In PyCharm, on the left, select terminal
- Click on the dropdown and select the environment you just created (It can take a while before all the file will be transferred)
 Connecting to the remote environment
You are now remotely connected to your GPU server.
When you change any file locally, your changes will be automatically uploaded to the server. This means that you can code locally and run your code on a remote machine with a powerful GPU. All your ML tasks will be much, much faster!
Remote server terminal
If you see a connection timeout error, like the one below, Probably your VM has beed shut down. Go to the portal and reactivate it.
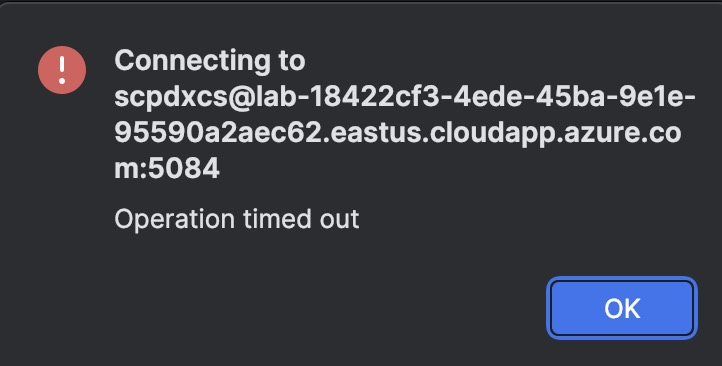 Connection timeout
Running, Testing & Debugging Remotely
- Activate the environment you created during the setup via
1
conda activate YOUR_ENV_NAME
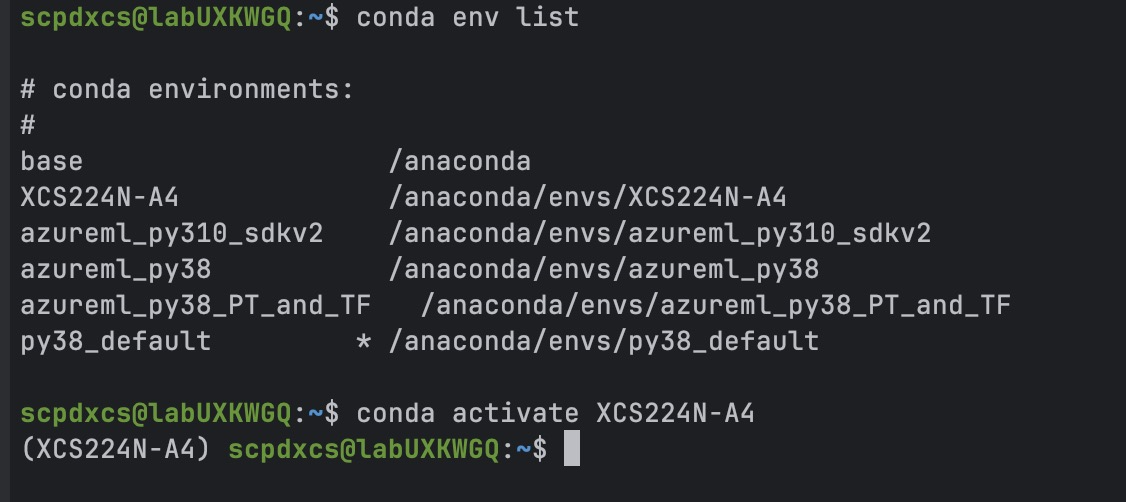 Activate your Conda env
- Update your environment At this point, if you have a requirements.txt or a yaml file, you’ll need to update your Conda environment.
If you have a yaml file, then:1 2 3 4
conda env update \ --name YOUR_ENV_NAME \ --file YOUR_ENV_YAML \ --prune
In case of the Stanford lab, the name will be “environment_cuda.yml”
If you have a requirements.txt file, then:1
pip install -r requirements.txt
of course, you need to update your environment only one time. If you log out and then log in again you only need to activate your environment.
💡Bonus tip, if you are using a GPU server equipped with an N-Vida GPU you can install Nvitop to have an interactive NVIDIA-GPU process viewer, just “pip install nvitop”. And to run it “nvitop”, you’ll have some fun 😊
- Run Configurations Your existing Run/Debug configs automatically use the SSH interpreter.
- Breakpoints & Console Set breakpoints locally; the debugger runs over SSH, showing remote stack frames and variables.
- Remote Python Console Open a Python console that executes commands on the server.
 Running, Testing & Debugging Remotely —
Deployment & Remote Host Tool Window
- Auto-Upload on Save
- When you make a change to your code, it is automatically deployed to the server; nothing else you have to care about
- You write code on your laptop, and it gets automatically executed on your GPU server!
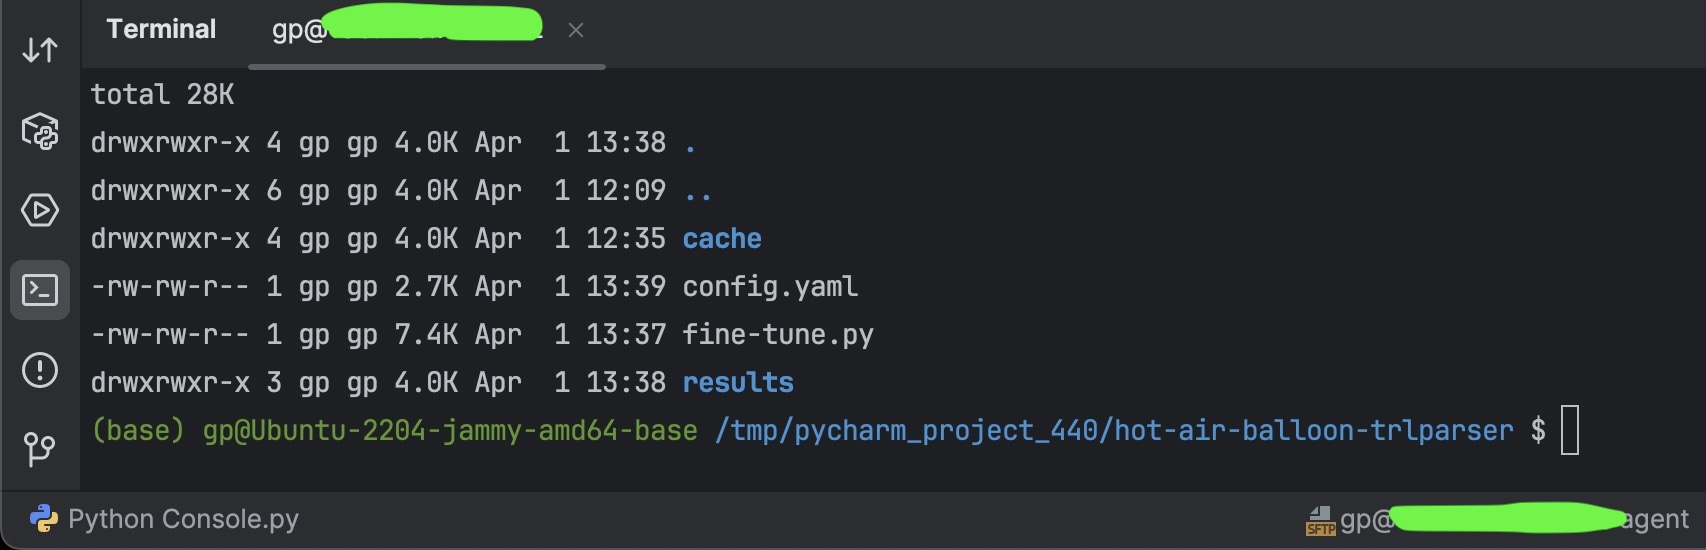
- Optionally, you may want to open a terminal on your GPU server. On the bottom left of the IDE click on Terminal and on the drop down choose your newly created SSH connection
 open a terminal on your GPU server —
⚠️ Very important:️ By default, PyCharm’s Deployment plugin only uploads files you modify locally; it does not monitor or pull in remote file changes automatically. To download the model, or any other file, you created on the remote GPU machine Open the Remote Host window: Tools → Deployment → Browse Remote Host Locate the file or folder you modified on the server. Right‑click → Download from Here to pull it back into your local project.
Licensing & Limitations
- License SSH interpreters require PyCharm Professional (Community Edition doesn’t support them).
- Limitations Only Linux servers are supported as SSH backends; no remote Windows/macOS interpreters yet, but hey, I hope you are not using a Windows server to test your ML projects!.
Troubleshooting Tips
- SSH Connection Errors Verify firewall rules, the correct port, and test with
ssh -v user@host. - Interpreter Setup Failures Ensure the SSH config is selected in the SSH Interpreter wizard; see JetBrains support threads for similar issues (intellij-support.jetbrains.com).
- Performance Tuning If the remote IDE backend lags, increase its JVM heap in
~/.cache/JetBrains/RemoteDev/*.vmoptions.
Conclusion & Next Steps
You’ve now unlocked the ability to code from anywhere, tapping into remote CPUs or GPUs without leaving PyCharm. 🚀 Next, you might explore:
- Container-based development (Docker, Kubernetes)
- JetBrains Gateway for zero-install remote work
- Collaborative coding via Code With Me
As for compute, cost-effective GPU backends:
- Runpod (pay-per-second from $0.00011/s) (runpod.io),
- Lambda AI (H100 at $1.85/hr) (lambda.ai)
- Hetzner bare-metal GPUs (e.g. RTX-powered servers from €0.295/hr) (hetzner.com)
- The Shadeform.ai marketplace (A100 80 GB PCIe at $1.20/hr up to H200 SXM5 at $2.45/hr) (shadeform.ai).
Happy AI coding! 😄
Need Help with Your AI Project?
Whether you’re building a new AI solution or scaling an existing one, I can help. Book a free consultation to discuss your project.